Now connect the dots.
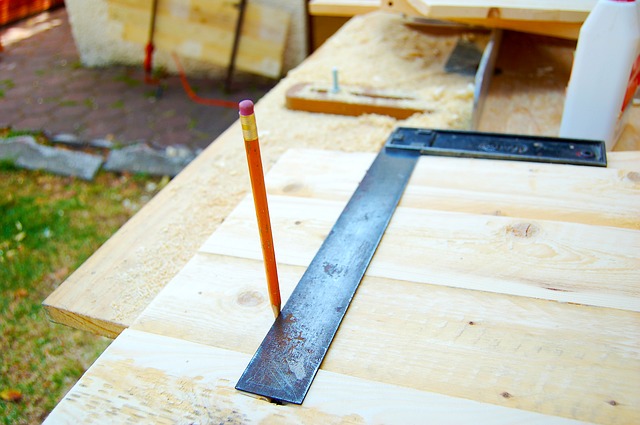
The flared shape of the integral drainboard and the outline of the sink are now penciled in. The darker lines represent the drainboard area, which will be cut out. Repeat this process on the opposite side of the sink.
Drill a hole just inside the line of the sink where it intersects with the drainboard, in order to insert the jigsaw. Do the same at the other corner and at one of the outer corners of the drainboard, staying inside the outline of the drainboard
Use a jigsaw to cut out the drainboard area. The drainboard should lift out like this. Mark the first drainboard area ‘left’ or ‘right’ so you’ll know where it goes later.
Remove the two drainboard areas.
Place newspaper under the holes to prevent attaching the mold to the table with resin.
Place a length of wood 1/2″ thick against the sink profile to act as a wedge.
That 1/2-length of wood creates the drainboard slope when the cutout is placed back in its hole.
Mix a polyester resin (Akemi, Touchstone, Tenax) with catalyst. You want something that has body, and won’t fall into the cracks. This bonding resin is used for marine applications and can be found in hardware stores.
After mixing, use the resin to butter the sides of the drainboard hole and the half inch wedge board.
Place the drainboard mold and remove the excess resin. Repeat the same on the opposite side.
Fill in the cracks and the pre-drilled holes with resin. Then wait about half an hour for the resin to dry. Lacquer thinner can be used to remove excess resin. It will remove the pencil marks, so you want to be careful about that.
Apply Bondo with a 2” putty knife to create the angles at the sides of the integral drainboard.
Use a larger putty knife to finish application to cure for about an hour.
Carve away the excess Bondo using a putty knife.
Sand the first application of Bondo with a coarse sandpaper on a block.
Apply a second coat of Bondo to fill voids and perfect the angles.
Use a palm sander to smooth the drainboard mold.
Spray the Bondo areas of the mold with a shellac-base white primer. By making it the same color as the melamine, it allows you to see the deviations and bumps. And it looks nice.


