This is an excerpt from the Book called “Step-By-StepHouseholdRepairs“. Continue reading to learn more about Silencing Floor and Stair Squeaks, thanks to the author.
Every house has at least one: a floorboard or stair tread that groans and creaks every time it’s stepped on—and always the loudest when you go to make a midnight raid on the refrigerator.
Quieting those annoying squeaks is mainly a matter of locating them, then securing boards or stair components that have loosened and are rubbing against each other. If you’re lucky, you’ll have access to these trouble spots from below. If not, don’t worry; we’ll show you how to tackle them from above, too.
Replacing Damaged Wood Flooring
Silencing Floors From above
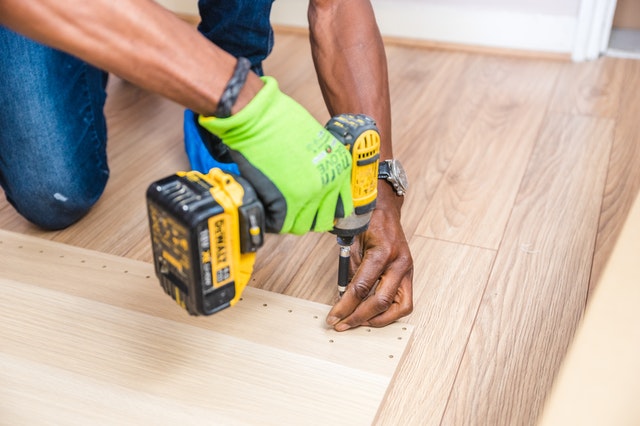
With hardwood floors, drill angled pilot holes wherever needed, then drive spiral-shanked flooring nails into the subflooring. Set the nailheads and fill the recesses with color-matched wood putty.
For carpeted floors, pull back the carpeting and pad, then drive ring-shank nails into the floor joists beneath the squeaky floor.
Silencing Stairs From Above
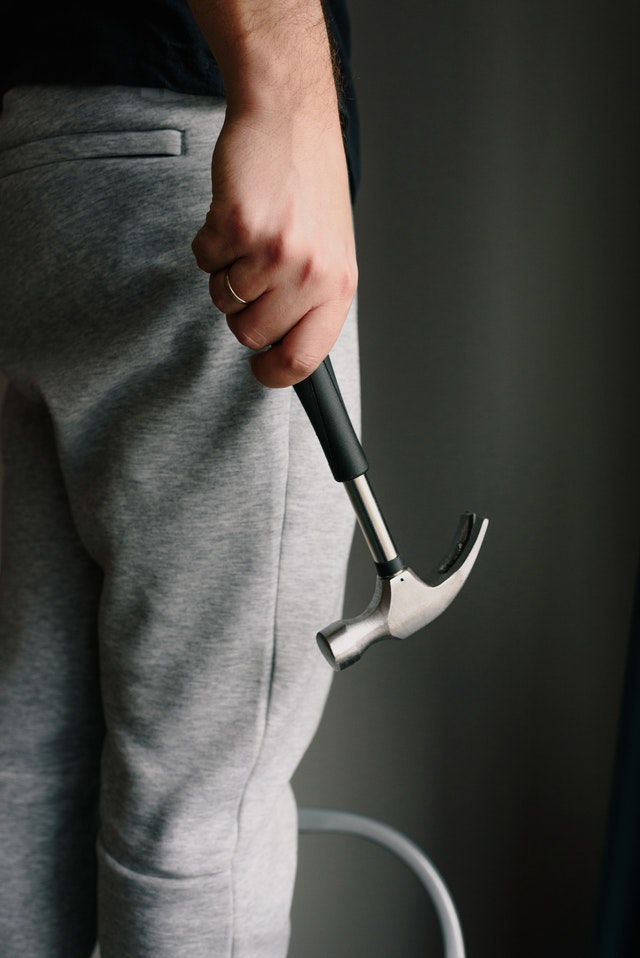
To fasten down the front edges of a tread, drive spiral-shanked flooring nails at an angle into predrilled holes as shown. If you can round up a helper, have him or her stand on the tread as you nail. Next, set the nails and conceal the holes with wood putty.
To eliminate squeaks at the back edge of a tread, drive one or more wedges of scrap wood (coated with glue) into the gap between the treads and risers. Later, trim away the protruding wood.
Silencing Floors From Below
Enlist a helper to walk on the finished floor above while you look for movement of the floor joists and of the subfloor from below. When you locate the problem area, first check to make sure that diagonal bridging between your floor joists (if any is nearby) is film. Snugging it up may solve the problem.
If the noise comes from between the joists, drive a tight-fitting piece of solid bridging up between the joists until it makes contact with the subfloor, then end-nail it in place.
To silence a subfloor that has worked away from the joists, drive glue-coated shims into the gaps between the subfloor and the joists.
Silencing Stairs From Below
Squeaky stair treads that have parted company with their risers respond quite well to treatments from below.
First drill pilot holes through the small blocks of 2×2 for the wood screws that will attach to both the tread and the riser. Then coat the contacting surfaces of the blocks with wood glue and drive the screws in both directions.
Wood Floor Repairs
Silencing Floors
Other Wood Floor Repairs
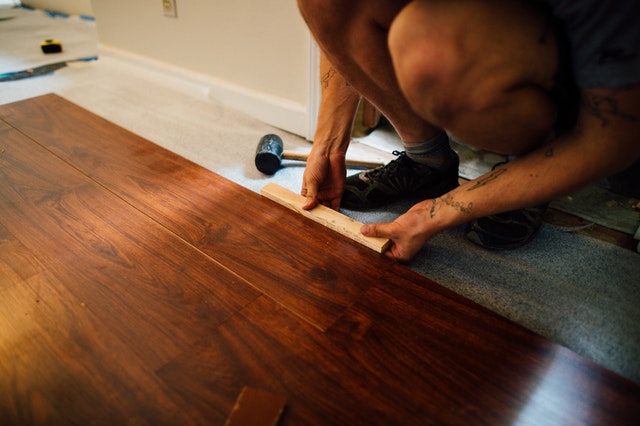
On the previous two pages you learned how to silence your wood floors. Now we’ll show you ways to restore their natural good looks—whether that involves smoothing away annoying scratches or replacing whole sections of damaged boards or tiles.
In both cases your success depends on how well you match your repair to the surrounding floor. So be sure to exercise all due care when removing the damaged flooring and when selecting stains and replacement boards or tiles. When purchasing new wood flooring, take a sample of what you have now so the salesperson can provide you with an exact match.
Hiding Scratches
To hide minor imperfections on waxed or varnished floors, first try rubbing the scratched areas with a rag moistened with stain that approximates the stain on your floor.
For surface cuts that don’t “disappear” when you treat the surface with stains, use steel wool and a solvent such as cleaning fluid. Realize, however, that if you apply solvent, you’ll need to rinse, then refinish, the treated area.
You can lift off most food stains and heel and caster marks by buffing the surface with the grain, using fine steel wool moistened with mineral spirits. This technique works especially well for oil-finished wood floors. With acrylic finishes, you’ll also need to refinish the area you’ve abraded.
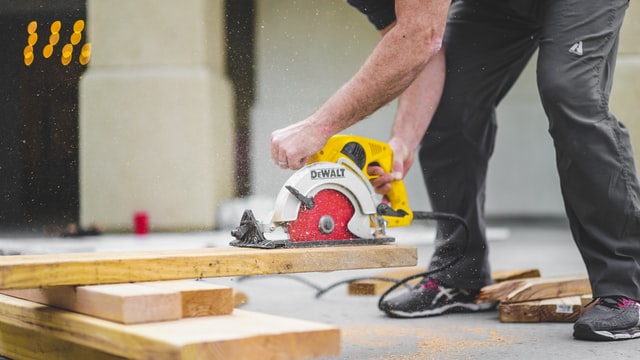
Replacing Damaged Wood Flooring
To remove one damaged floorboard, make several cuts down the center of the board with a circular saw. Adjust the cutting (continued).