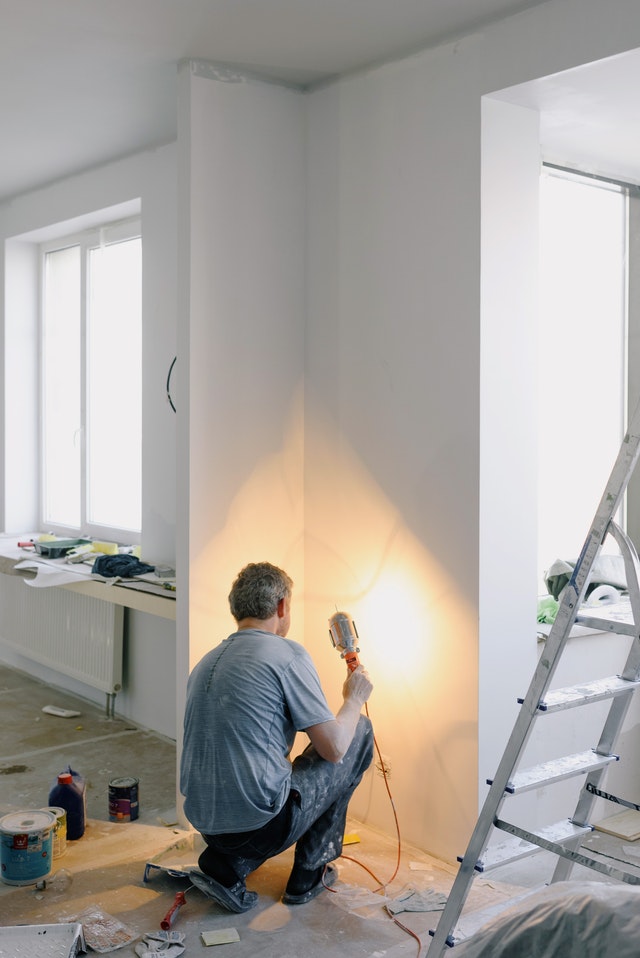
Professional Drywall Repair in Aurora, CO
Ceilings
This is an excerpt from the Book called “Improvement and Renovation“ by Bob Vila. Continue reading to learn more about Ceilings, thanks to the author.
Creating any new living space usually involves installing or replacing a ceiling. Simply patching the existing surface is often less satisfactory in the long run than putting in a new one, and sometimes patching is just as much work. For one thing, a new ceiling lets you have the kind of overhead material that both suits your taste and matches the uses you plan for the room. In many cases a new ceiling can make up for architectural deficiencies. Dividing a room, for example, may make the ceiling too high for the room’s size; lowering the ceiling restores proper proportions. Recessing light fixtures in it can make a low ceiling seem higher. Soundproofing a ceiling can deaden the upstairs or downstairs din and adapt a room for quiet uses such as a study.
Planning and preparation, essential to any home-improvement project, is especially important in the case of ceilings. Supporting a new ceiling is not complicated. Most ceilings are simply attached directly to the joists supporting the floor of the room above, or to furring strips nailed across the joists at intervals. Where no ceiling joists exist, as in an attic, you can nail horizontal collar beams across the rafters and attach the ceiling to them. Hanging a suspended ceiling (below) requires little more technical skill than hanging a picture; prefabricated snap-together metal strips strung from the joists provide a framework for drop-in panels. Fluorescent lighting can be incorporated into a suspended ceiling, giving added function to a room’s ceiling.
Suspended A Ceiling
Suspended ceilings are usually made of 2-foot-by-4-foot acoustical panels supported by a metal grid. This framework consists of long main runners connected at 4-foot intervals by 2-foot cross Ts. The runners are usually hung at right angles to the joists and are held up by hanger wires attached to the bottom edges of the joists. The outer edges of the ceiling are supported by edge framing, which is L-shaped in cross section, and which is attached to the walls with the vertical stroke of the L uppermost.

Both the hardware-framing, runners and hanger wires-and the acoustical panels are adaptable to all room sizes and designs. Runners, sold in 8-, 10- or 12-foot lengths, are made of light aluminum sheet metal that can be cut to fit easily enough with tin shears. Tabs at the ends interlink and lock to extend the length. Holes for hanger wires occur every 3 inches, and slots for cross Ts are positioned every 6 inches. Edge framing is flexible enough to accommodate the slight irregularities in wall surfaces. Use a utility knife to trim the panels.
- Measuring Ceiling Height. Mark the proposed ceiling height-allowing room below the joists to clear ducts, pipes or other obstructions-on the wall at the corners of the room. In each corner, drive a nail part-way into a stud at the level marked. Stretch a chalk line tautly between the nails, and snap the line across each wall.
- Installing Edge Framing. Screw or nail edge framing into studs along each wall at ceiling height. Where the ends of two strips of framing meet at a corner, lap one end over the other.
- Positioning Runners And Cross Ts. To ensure a symmetrical arrangement of the panels, start by marking the centers of the walls at joist level. Since the short ends of the panels will about the walls parallel to the joists, these walls must be divided into centered 2-foot intervals. Measure from center to corner, and determine the distance in inches beyond the last even number of feet. If this overage is 6 inches or more (top right), snap a chalk line across the joists bottoms from the center of one wall to center of the center of the other. If the overage is less than 6 inches, mark the joists along a line a foot to one side or the other of the midpoints (bottom right). In either case, mark across the joists at 2-foot intervals on both sides of the first line.
In centering the long dimension of the panels on the walls perpendicular to joists, measure in the same way from center to corner. The overage is the distance to the corner from the last 4-, 8-, or 12-foot mark. If the average is 6 inches or more (top right), plan to space cross Ts at 4-foot intervals on both sides of the center mark. If the overage is less than 6 inches (bottom right), space cross Ts from points 2 feet on either side of the center. Mark the walls above the edge framing for cross Ts.
- Attaching Runners. Along the lines marked across the joists, attach an eye screw to the bottom edge of every other joist; attach an eye screw to the bottom edge of every other joist. Insert a hanger wire in each eye, secure the wires by twisting and bend the free ends to a 90° angle. Ensure alignment of the cross. T slots in the runners by stretching a line between center marks on the walls perpendicular to the joists. Hang the runners so that a t slot lies just above the string. Add lengths of runners as needed and cut off the excess. Set each runner in place with its ends resting on the edge framing. Thread hanger wires through the holes in the runners. Level each runner by adjusting the hanger wires, then secure each wire by twisting it around itself.
- Connecting The Cross Ts. Connect the runners with cross Ts at the proper intervals by fitting the ends of the cross Ts into the slots in the runners along the two walls perpendicular to the joists; rest the outer ends of the cross Ts on the edge framing.
Install panels in all the full-sized openings in the grid. Lift each panel diagonally up through the framework, turn it to the horizontal and rest its edges on the flanges of the runners and the cross Ts. Check the alignment of full-sized panels and grid, then trim panels to fit the smaller spaces around the border of the grid and install them.
Inserting A Fluorescent Light Fixture
Suspended ceilings offer a variety of opportunities for installing either fluorescent or incandescent light fixtures. The simplest method is to replace one full-sized panel with a troffer type of fixture-one with a shallow rectangular reflector the same size as a panel.
Such a fixture usually comes with a light-diffusing screen of transparent plastic, and a receptacle for housing the connections to a power source. If the original ceiling fixture employed a hanging cord switch, you will have to install a wall switch for the troffer.
- Connecting Cable To Cover Plate. Knock out one of the punch holes in the cover plate from the light fixture, and insert the threaded end of a cable connector through from the top, or ridged, side. Screw the lock nut tightly to hold the connector to the plate.
Cut 6 inches of sheathing off the end of a length of plastic-sheathed cable, wire size No. 14 for a 15-ampere branch circuit. Peel off 3/4 inch of insulation to bare the ends of the black-and white-insulated wires. Slip these wires through the clamp on the cable connector and out the nozzle until 1/4 inch of the cable sheathing comes through. With a screwdriver, tighten the cable clamp to secure the cable.

- Running Cable To Junction Box. Cut the cable long enough to reach from where you want to place the light fixture to the junction box that holds the original ceiling light. Turn off the current at the service panel. Unscrew the original fixture from the fixture box. Carefully remove the wire caps without touching any bare wire ends. Use a voltage tester to be certain the power is off. If the tester glows, turn off the proper circuit before working with the wires. Locate a knockout-a removable part of the junction box that allows cable entry, and fasten the cable into it with another cable connector. Attach the grounding wire to other grounding wires and grounding jumper wires in the fixture box. Connect the wires from the power source and from the fixture with wire caps, white to white and black to black. Screw a cover plate to the box.
- Putting Up The Fixture. With the power off, leave grid openings surrounding the fixture empty in order to have ample space in which to work. With the help of a partner, angle the fixture into place and set it on the grid.
- Connecting Cable To Fixture Wires. With the power off, wire-cap the white-insulated wires from the light fixture to the white wire of the cable. Wire-cap the black-insulated wires from the fixture to the black wire of the fixture; attach the cover plate. Staple the cable within 12 inches of the fixture. From below, open the fixture and attach the cable grounding wire to a grounding screw on the fixture.
Providing A Wall Switch
- Making Connections In The Junction Box. If the original ceiling light used a pull cord as a switch, install a wall switch for the new fixture. From the wall near an entry door to a new knockout hole in the ceiling junction box, run No. 12 or 14 cable (step 1) with a cable connector. Staple the cable to the joints at 4-foot-maximum intervals and at bends. Make sure the power is off. In the ceiling junction box, join the white-insulated wire of the power source cable to the white wire of the cable from the new light fixture. Join the black-insulated wire from the power source cable to the white wire from the switch cable, coding the white wire black to show that it is being used as a hot wire. Join the black-insulated wire from the switch cable to the black wire from the fixture cable. Wire cap the three bare grounding wires from the cables together with a short green-insulated or bare grounding jumper of the same wire gauge and connect the other end of the jumper to the bonding screw at the back of the metal junction box. Fold the wires carefully back into the box and cover the box with a blank cover.
- Connecting The Switch. At the wall, run the cable into the box. Connect the bare grounding wire with green-insulated jumping wires leading to grounding terminals in the box and on the switch. If the switch has no grounding terminal, see that its metal yoke contacts the metal box when installed. Connect the black-and white-insulated wires to the terminal screws. Mark the white wire to flag it as hot. Screw the switch to the box, install a switch plate and turn on the power.
Putting Up A Tile Ceiling
- Planning The Job. Acoustical tiles, 12 inches by 12 inches, make a suitable ceiling for a new living space in a basement, attic or unfinished room. At ceiling level, make chalk marks at the centers of all four walls. Measure from each mark to an adjacent corner. This distance will be a number of feet plus, usually, a fraction of a foot. If the fraction is less than 3 inches, move the center markers 6 inches right or left. Mark 12-inch intervals from the center markers to the adjoining walls. To determine how many 1-by-3 furring strips you need, count the number of marks on one of the walls parallel to the joists and add two extra. Cut each strip the length of the walls perpendicular to the joists. To estimate the number of tiles required, count the number of 12-inch intervals on two adjoining walls; add one to each of these figures and multiply them.
Any extensive electrical wiring that is to be installed in the room should be completed before you put up the furring.
Holding The Edge
Where you find a gap between the end joist and the wall, supply a nailing surface for the ends of the furring strips by adding a false joist. Cut a 2-by-4 or 2-by-6 just enough shorter than a joist so that you can raise it to rest flat on the side sill plate at one end, and then slide it over to rest on the sill at the other end. Cut 1-by-3s to a length equal to the width of a joist. Every 2 or 3 feet nail these segments-called kickers-to the outer edge of the false joist, with their upper ends against the subfloor. Position the joist’s inner edge to lie where the furring strips will end. The kickers provide solid nailing for the strips, which in turn hold the joist in place.
- Putting Up Furring Strips. Tape a carpenter’s level to the narrow side of a straight 2-by-4 and check the joists lengthwise and crosswise to see how level a base they will provide. If they vary sharply, start by holding the first strip at right angles to the joists at their lowest level. Center the ends between the nearest pair of chalk marks and attach the strip to the joist with an eightpenny nail. Using a level to guide you, shim the rest of the strips from the high joists. Level the other strips from the first one, attaching a strip between each remaining pair of chalk marks and against the end walls.
- Adjusting Fixtures. If a furring strip crosses an existing ceiling fixture, disconnect the fixture: Turn off the electricity circuit. Carefully remove the screws or nuts holding the fixture; pull it away from the box. Carefully remove the wire caps without touching any bare wire ends; disconnect the wires. Detach the ceiling box from the joist or loosen it from the hanger and slide it back along the cable out of the way of the strip. Reattach the box; lower it if necessary so the bottom rim will be flush with the ceiling when the tiles are installed. Leave the power off.

- Putting Up The First Tile. Snap a chalk line down the center of the next-to-last furring strip on one side of the room and another line intersecting the first at right angles-between the last pair of chalk marks at one end of the room. Set the tile in the corner where the lines intersect with the raised, or tongue, edges toward the center of the room. Align the finished rims with the chalk marks. Staple both ends of the flanges on the grooved edges to the furring strips.
- Attaching Adjacent Tiles. With the adjoining raised edges toward the corner, slide the tongue of the next tile into the groove on the stapled edge of the preceding tile. Then align the rims of the new tile with the chalk line or the rims of the preceding one. Staple the flanges on the projecting grooved edges of the new tile to the furring strips.
- Adding Border Tiles. After installing three tiles, measure the distance from their outer rims to the walls at both ends of each tile. Deduct 1/4 inch from each measurement and use the results to mark the required sizes for the corner and edge tiles. Be sure to measure from the rims along the grooved edges. Draw lines between the marks and cut the tiles with a utility knife. Slide the pieces into place, starting with the corner tile, and anchor them to the furring strips with 1 1/2-inch common nails.
- Marking The Site Of An Outlet Box. Be sure the power is still off. Before you reach the area where you must tile around the outlet box of a ceiling fixture, remove the fixture and relocate the box (step 3), if you have not already done so. Reattach the box to a joist so that it will be more or less in the middle of a tile and so that its lower rim will be flush with the surface of the ceiling. Tile as closely as possible to two adjacent sides of the relocated box, them slip the tongue of a fresh tile into the groove of a tile already installed on one side of the box. Slide the loose tile up to the box and mark the tongue of the tile at the point where it touches the midpoint of the rim of the box, but do not mark the face of the tile. Slide the same tile up to the adjoining side of the box and mark the point on the tile’s other tongue where it touches the midpoint of the rim.
- Trimming The Tile. Using a square, extend the marks on the tongues of the tile. The point at which these lines intersect on the back of the tile marks the center of the outlet box. Transfer the center mark to the tile face. Set a compass to a measure slightly less than half the distance from rim to rim of the box at its longest dimension. Draw a circle of this radius on the face of the tile with the center of the circle at the point of intersection of the two lines. Using a keyhole saw held with the blade pointed outward at a slight angle, make a beveled cut around the circle through the face to the back of the tile. The box should be flush with the face of the tile or stick out 1/16 inch. Staple the tile in place around the box step 5. Reattach the fixture and turn the circuit back on.
- Finishing The Ceiling. After installing the tiles, insulate as necessary and put up wallboard. (You can also work in the reverse order, putting up wallboard first and then the tiles.) After the wallboard is finished, use the procedure to miter-joint 1 1/2-inch cove molding to cover the line between walls and ceiling.