Professional Drywall Repair in Aurora, CO

Building Molds with Integral Elements

Advanced 

Building Molds with Integral Elements 

Plotting The Counter And Radius Edge 

Plan view: 2” thick countertop with sink& drainboard (Drawing Not To Scale) 

Use a straightedge to draw a line 15 inches from the edge of a 4’ × 8’ sheet of melamine, allowing the counter to have plenty of room on all sides. 

Find the center of the 71-1.2”-long countertop and mark. 

Draw the centerline. 

To create the curved front, you need a long compass, and you need to continue the centerline back far enough to get a radius of about 12 feet. A second worktable will allow you to extend the line. 

Use a long straight edge and a pencil to mark the centerline’s continuation. 

Figure out the width of the countertop and measure from the centerline to each side. 

Mark the edges. Note that the countertop length is a half inch shorter than the shelf slot allotted in the base so that it will slide in to its slot. Make a 1/4″ allowance on each side. 

Using your T-square pivot and draw the sides of the radius countertop. 

Our compass is set to 10’× 9’ we calculated this on graph paper before hand and then adjusted then adjusted it. While was actually making the mold tried 8’ and then went to 10’ and wound up with 10’×9’ by looking at it and finding a curve that looked right for me. The drawing that you see reflects the final decision.

Plotting The Counter And Radius Edge 

 A close-up shows the writing end of the compass, created using a standard clamp available in hardware stores. 

Tap the far end of the compass lightly into the board below to anchor it. 

Plan View With Compass 

For Radius Edge 

(Drawing Not To Scale)   

Draw the radius edge carefully. It helps to have someone holding the pivot in place. 

Plotting The Integral Sink And Drainboard 

We will be using a fiberglass sink mold manufactured for Buddy Rhodes Studio. 

Carefully measure the center of the sink mold. Here the bottom of the fiberglass mold is shown. Because it’s flat, the measuring starts here.  

Use a straight edge to carry the centerlines to the sides and to the front. Mark the centerlines on all four sides. 

Measure 5” back from the front edge of the countertop and mark the position of the front edge of the sink at the centerline. 

Center the sink mold on the melamine board and trace around it. 

At the sides, locate the centerline on the sink mold and mark it on the melamine. 

Extend the lateral centerline across the melamine. Measure 14” from the side of the sink and mark it on the lateral centerline. This will be the far side of the integral drainboard. Use a T-square to create a straight line, intersecting the lateral center line at 14” from the sink edge. Mark along this line at 8” from the lateral centerline. Creating the 16” flange at the far side of the integral drainboard. 

Along the sink edge, measure 6” from center and mark at each end, creating the 12” width of the integral drainboard beside the sink. 

Plotting The Integral Sink And Drainboard
Plan View With Compass

Now connect the dots. 

The flared shape of the integral drainboard and the outline of the sink are now penciled in. The darker lines represent the drainboard area, which will be cut out. Repeat this process on the opposite side of the sink. 

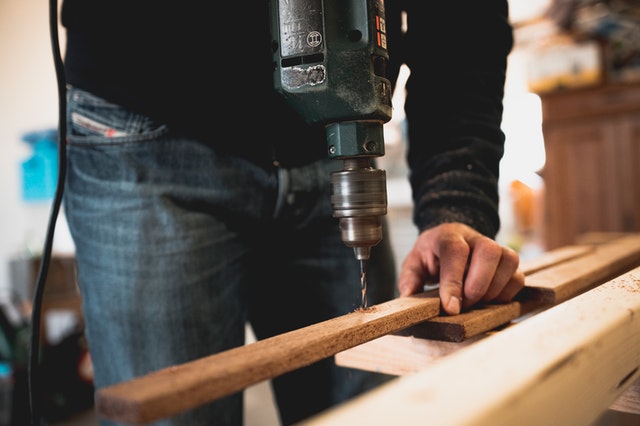
Drill a hole just inside the line of the sink where it intersects with the drainboard, in order to insert the jigsaw. Do the same at the other corner and at one of the outer corners of the drainboard, staying inside the outline of the drainboard 

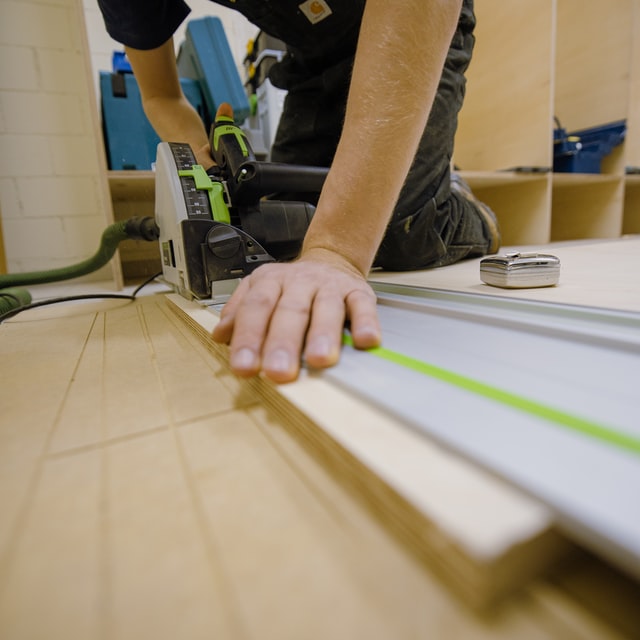
Use a jigsaw to cut out the drainboard area. The drainboard should lift out like this. Mark the first drainboard area ‘left’ or ‘right’ so you’ll know where it goes later. 

Remove the two drainboard areas. 

Place newspaper under the holes to prevent attaching the mold to the table with resin. 

Place a length of wood 1/2″ thick against the sink profile to act as a wedge. 

That 1/2-length of wood creates the drainboard slope when the cutout is placed back in its hole. 

Mix a polyester resin (Akemi, Touchstone, Tenax) with catalyst.  You want something that has body, and won’t fall into the cracks. This bonding resin is used for marine applications and can be found in hardware stores. 

After mixing, use the resin to butter the sides of the drainboard hole and the half inch wedge board. 

Place the drainboard mold and remove the excess resin. Repeat the same on the opposite side. 

Fill in the cracks and the pre-drilled holes with resin. Then wait about half an hour for the resin to dry. Lacquer thinner can be used to remove excess resin. It will remove the pencil marks, so you want to be careful about that. 

Apply Bondo with a 2” putty knife to create the angles at the sides of the integral drainboard. 

Use a larger putty knife to finish application to cure for about an hour. 

Carve away the excess Bondo using a putty knife. 

Sand the first application of Bondo with a coarse sandpaper on a block. 

Apply a second coat of Bondo to fill voids and perfect the angles. 

Use a palm sander to smooth the drainboard mold. 

Spray the Bondo areas of the mold with a shellac-base white primer. By making it the same color as the melamine, it allows you to see the deviations and bumps. And it looks nice.